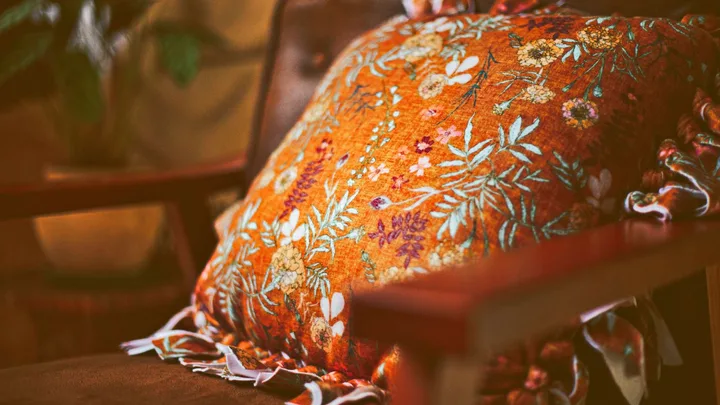
This no-sew cushion is a great beginner’s project as it requires no sewing at all as the two sides of the cover are knotted together to make decorative tassels. This is an ideal technique for making sofa or bed cushions, large floor cushions and cosy cushions for a dog bed.
It’s adaptable because you use a cushion pad (pillow form) or bed pillow to fill it, or you can make your no-sew cushion cover any size you like and simply stuff it with filling. You can use any fabric for this project, but we recommend fleece as it does not fray, unlike many other fabrics.
Fleece doesn’t crease much, so there’s no need for ironing after it has been washed. (You can’t remove the inside easily for washing, but you can simply pop the whole cushion in the wash when needed.)
You will need
- Cushion pad (pillow form) or polyester filling
- Tape measure
- Fleece fabric
- Fabric scissors
- Pins
- Right-angled ruler
- Chalk
- Masking tape

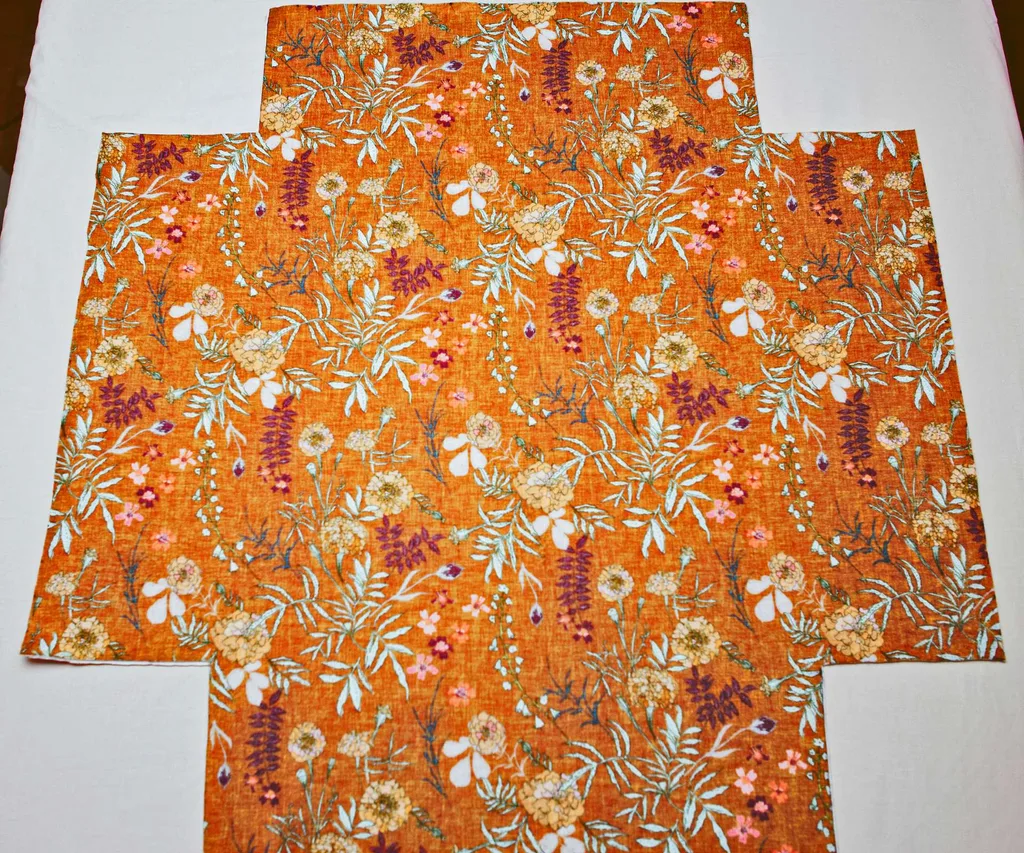
1. Measure and cut fabric
If using a cushion pad (pillow form) as the filling, measure it and jot down length and width. Now work out the measurements needed for the fleece. This will be the cushion length plus 30cm (12 inches) and cushion width plus 30cm. You need the extra 30cm to allow for the thickness of the cushion (5cm/2 inches) plus another 12.5cm (5 inches) on each side to allow for the tassels. Cut two pieces of fleece to these dimensions.
2. Line up the front and back
Lay the fabric for the back of the cushion on a flat surface, right-side down, then lay the fabric for the front of the pillow on top, right-side up, and line up the edges. Pin the two pieces together to prevent them moving.
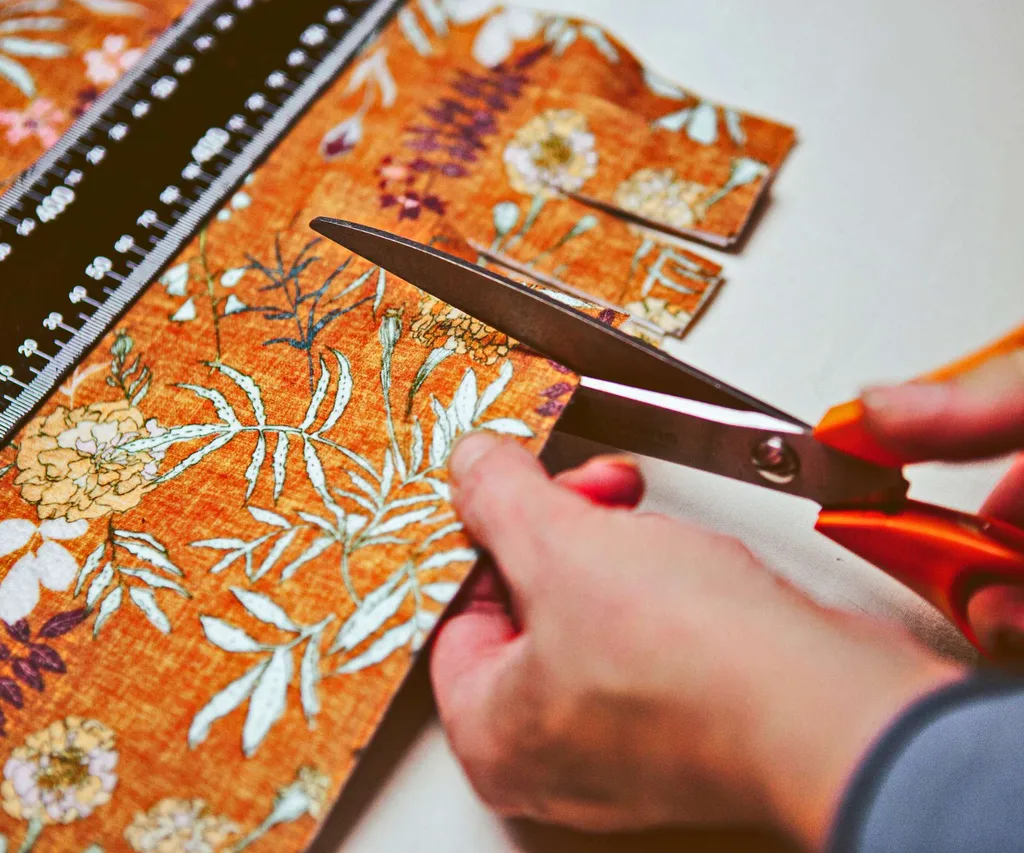
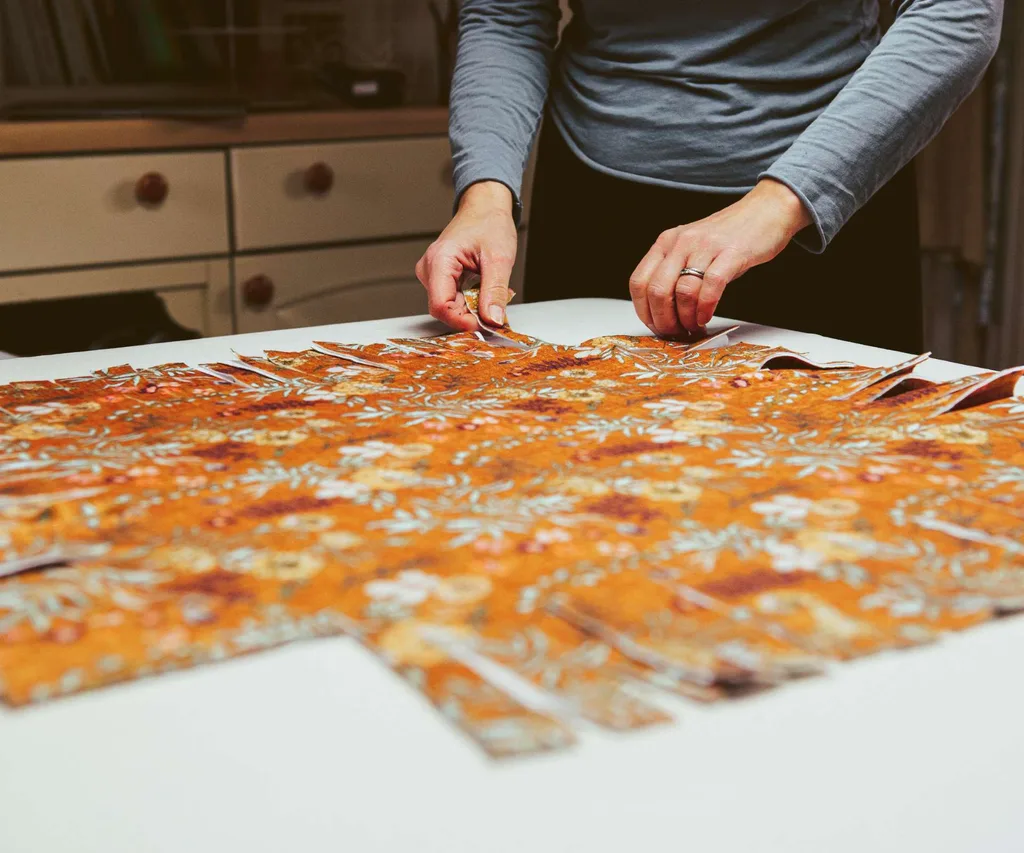
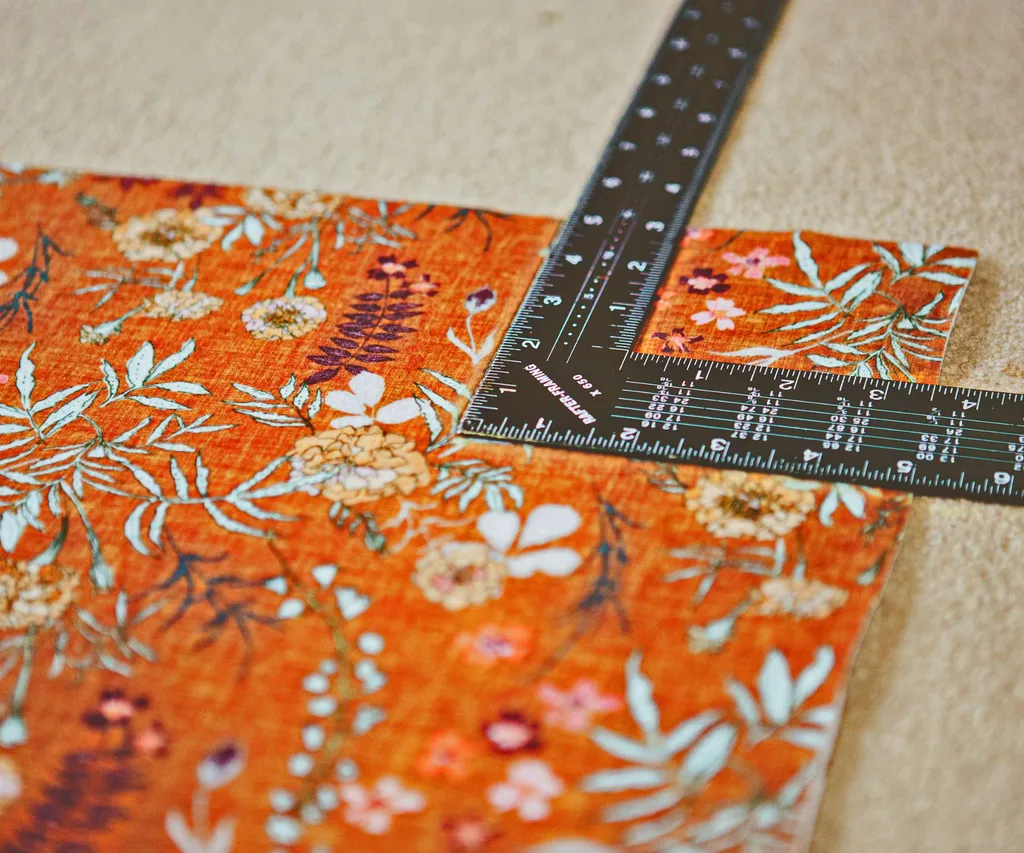
3. Cut out the corners
Using a right-angled ruler, measure squares of fabric from each corner to match the length of the tassels you plan to cut out. So, for 12.5cm tassels, cut a 12.5 x 12.5cm square from each corner. Measure carefully, then cut out the squares from both layers of fleece (if you wish, mark your cutting lines with pins or draw chalk lines).
4. Cut the tassels
Lay a ruler or place masking tape from corner to corner along each side to use as a guide, then measure and mark fabric strips 2.5cm (1-inch) wide all around four edges. Cut through both layers of fleece to make tassels 12.5cm long. Remove any pins or brush off any chalk marks.
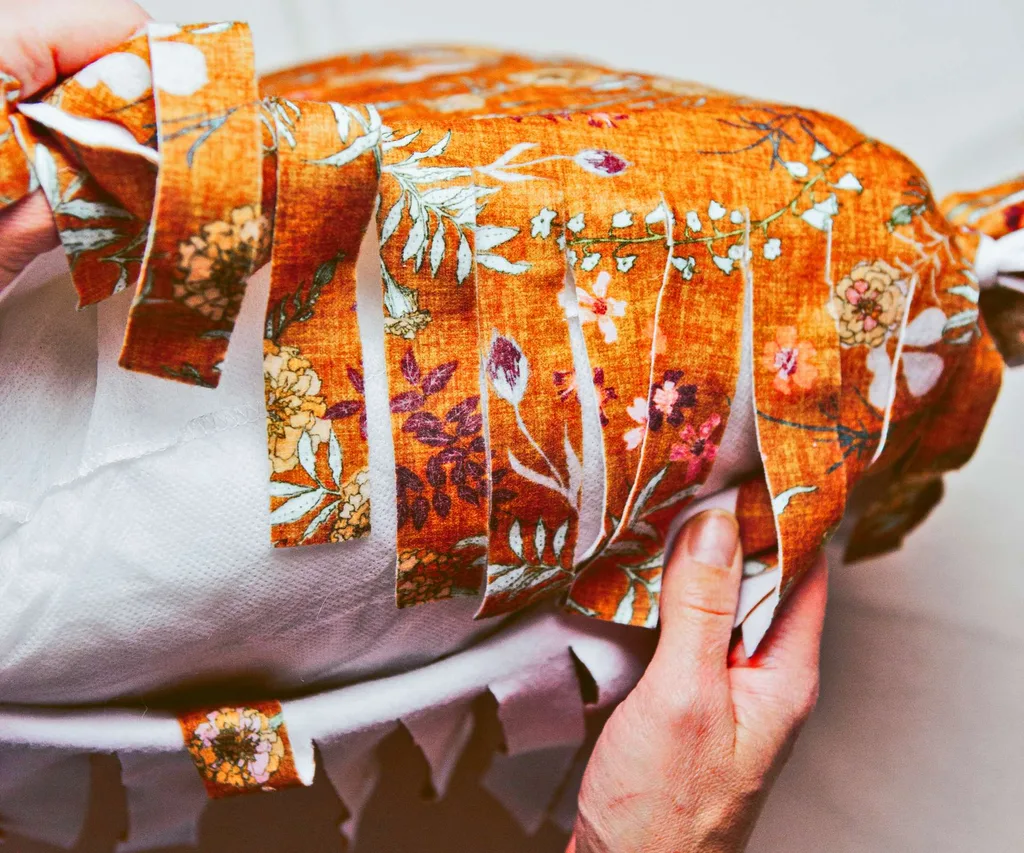
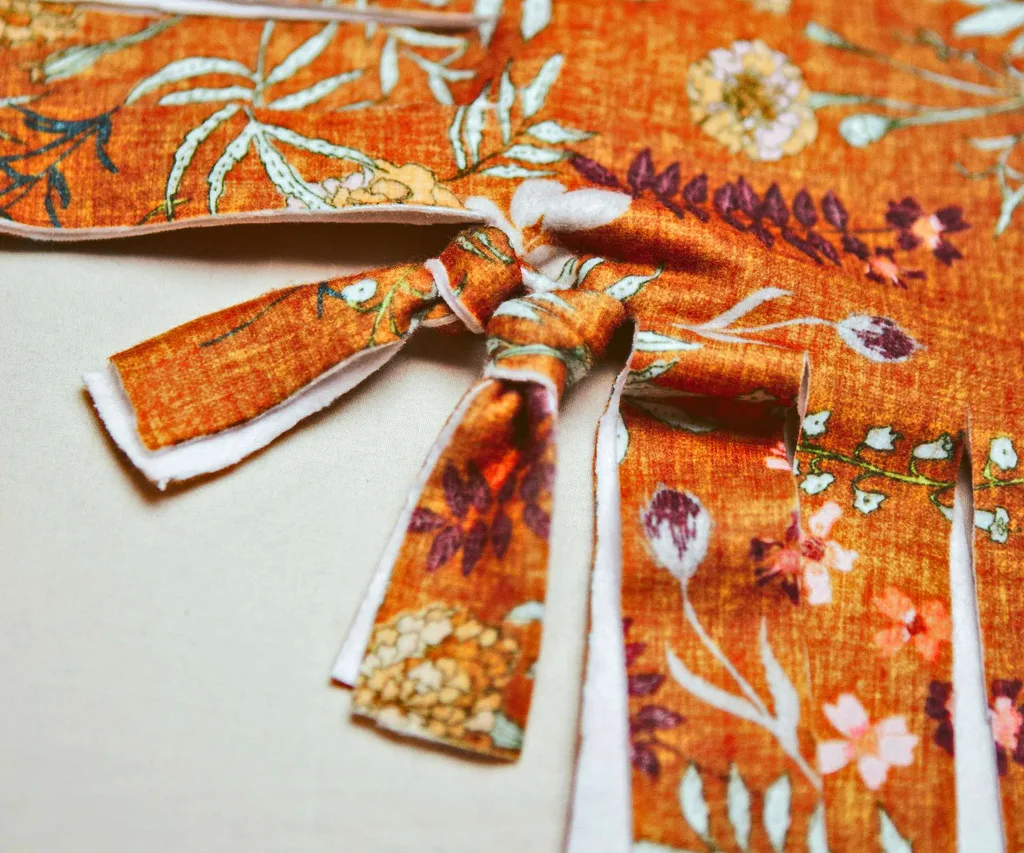
5. Tie the front and back together
Working your way around three sides of the cushion cover, tie up the tassels using a balloon knot (a balloon knot is exactly that, the way you tie a balloon). In fact, any knot would work, but a balloon knot just looks nice and tidy.
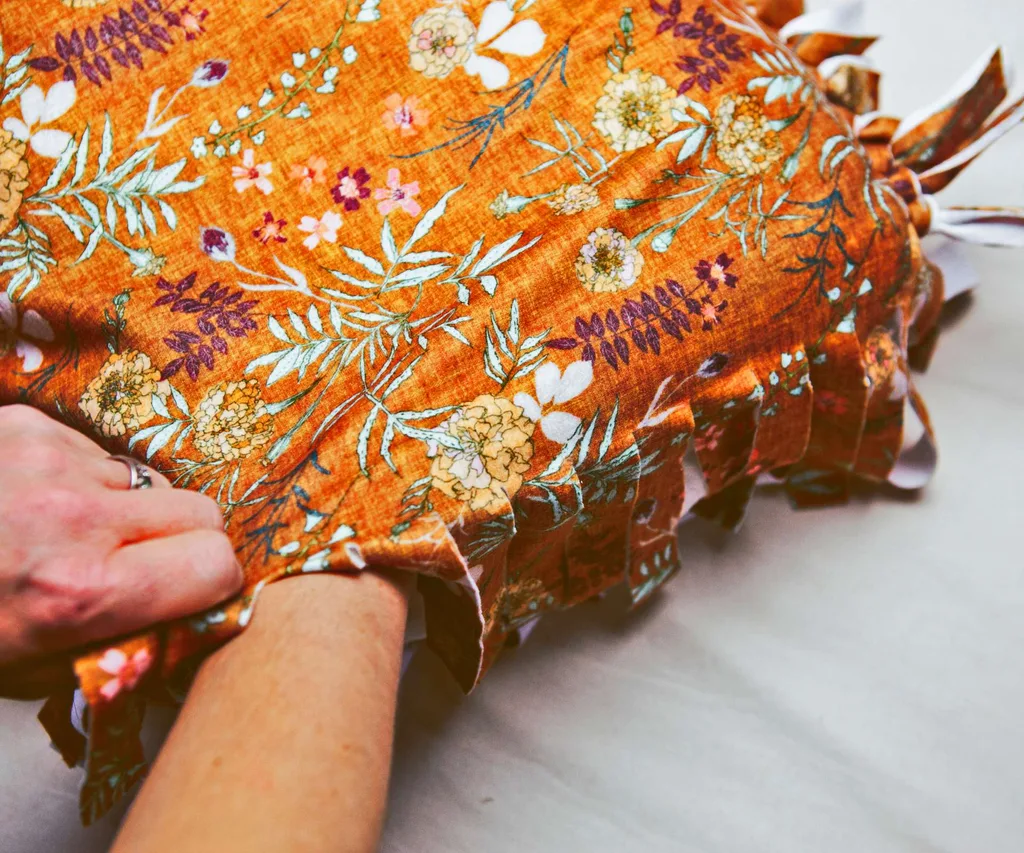
6. Finish it off
When three sides are tied, insert your cushion pad (pillow form) or pillow into the cover and continue tying the final side. Alternatively, if you plan to stuff your no-sew cushion with filling, tie together most of the fourth side and stuff when you only have five or so tassels left to go. If you wish, trim the tassels to your chosen length.
Note: You may find the tassels are too long, but you can trim them at the end – it’s better to play it safe than make them too short.
Edited extract from A Handmade Cottage by Jodie May Seymour (Murdoch Books, $81.90 from Paper Plus)